In this article we will describe the Magento 2 installation process in details. Here you will find our advices and troubleshooting recommendations, which will be useful during installation process and certainly will save your time.
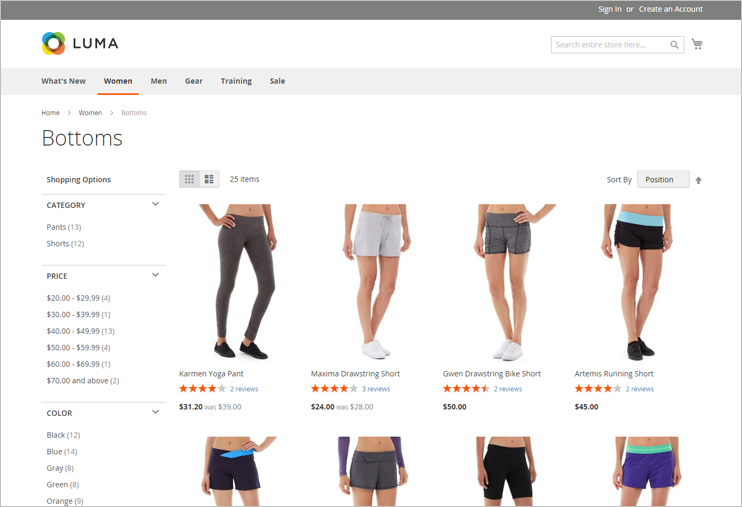
The installation will be performed with sample data import, so as a result you will receive a complete Magento 2 demo with categories, products and all other demo data required for testing.
The installation will be done on the local server. For local server environment I will use XAMPP, which you can find and download here.
So, lets start.
Step 1. Prepare for the Installation
Make sure to check the Magento 2 system requirements here, in order to prepare your local server software for the new system requirements of the Magento 2 engine.
You will need Composer package manager, for Magento 2 installation. You can download it and check the Composer installation instruction here https://getcomposer.org/.
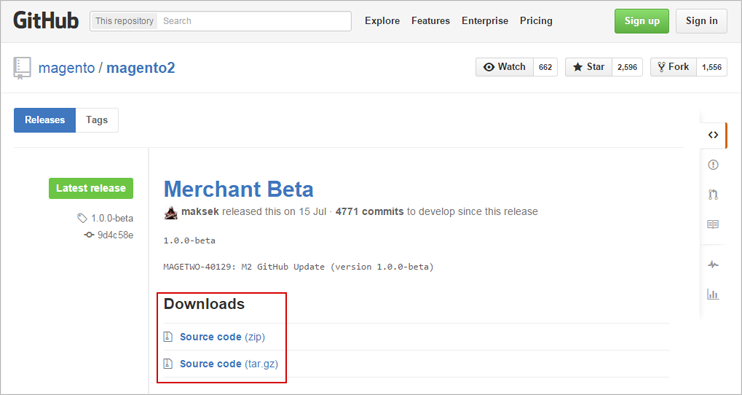
Also, you will need to download Magento 2 installation distributive from Github, from the Releases page: https://github.com/magento/magento2/releases.
Note: The repository version of Magento 2 (which is available here) failed to install with sample data option currently. So this is why we will use Magento 2 distributive downloaded from Releases page.
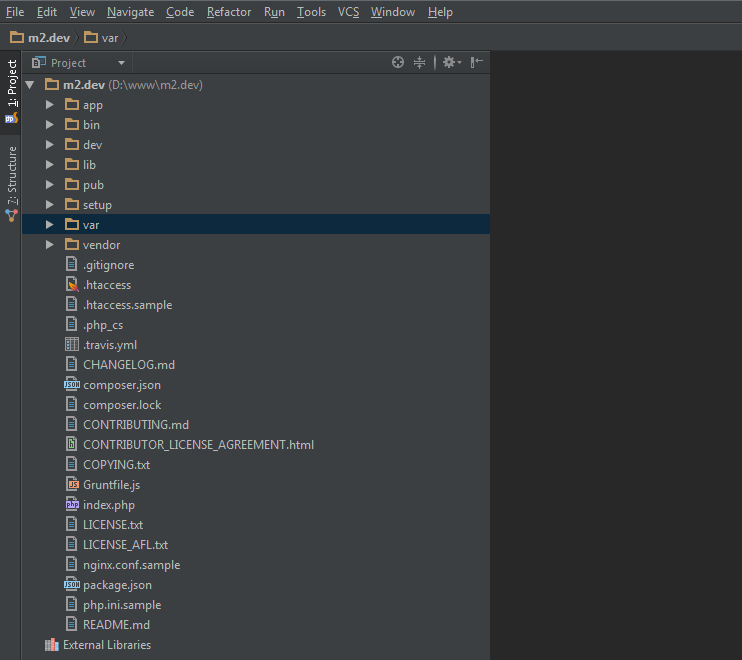
Download and unzip the Magento 2 distributive into needed directory. In this article I will unzip it to the: D:\www\m2.dev folder.
Step 2. Installation of packages through the Composer
At this stage the Composer is already downloaded and installed, the Magento 2 distributive is also downloaded and unzipped to the necessary folder e.g. WWW directory of the Apache web server.
Now you will need to install the required components, including Sample data.
Note that you can install sample data before the Magento 2 installation (like it was in Magento 1.x versions), or after Magento 2 installation. So the sample data installation become more convenient now. We will overview both variants of Sample data installation, but will use the first variant (installation of sample data before installation).
I'm using PhpStorm as an IDE (but you can use any other software like Windows console. etc),
So open the Magento 2 folder:
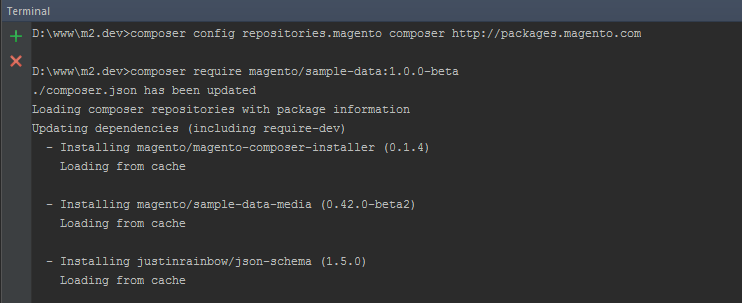
Next, we will open the console and navigate to the directory with Magento 2 distributive, and install required packages together with sample data, using the following commands:
composer config repositories.magento composer http://packages.magento.com
composer require magento/sample-data:1.0.0-beta
composer update
So this stage is finished.
Note: if you decided to install sample data after magento installation, you will need to execute the following commands in the console:
To download sample data
composer config repositories.magento composer http://packages.magento.com
composer require magento/sample-data:1.0.0-beta
To install sample data
<path to Magento 2 bin dir>/magento setup:upgrade
<path to Magento 2 bin dir>/magento sampledata:install <your Magento administrator user name>
Step 3. Installation of the Magento 2 through the web interface
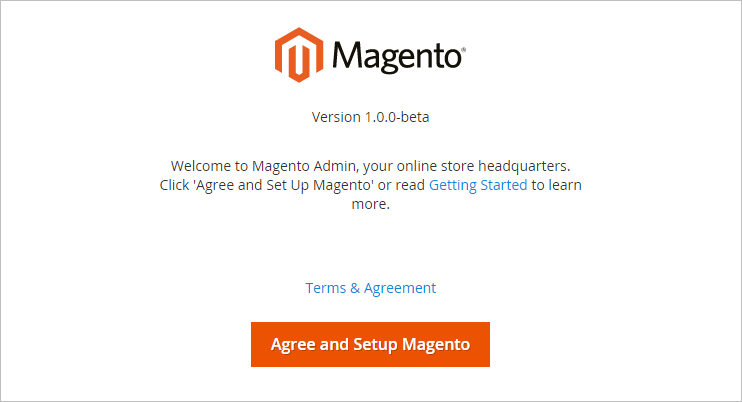
So everything is ready, and all we need now is to follow the installation wizard in the browser. Open the Magento 2 URL configured in your web server, e.g. http://m2.dev/
You will see Magento 2 welcome message, click the Agree and Setup button there.
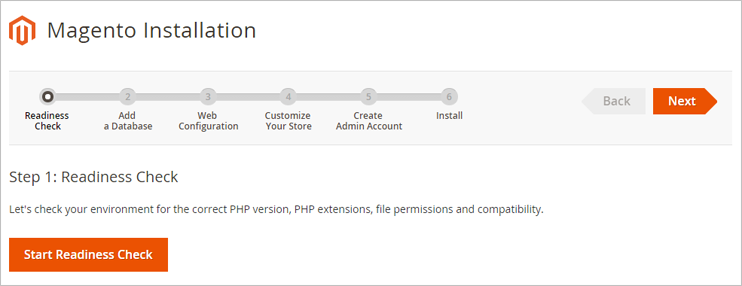
The next step will be Magento 2 readiness check: the system will check your PHP version, permissions, and so on:
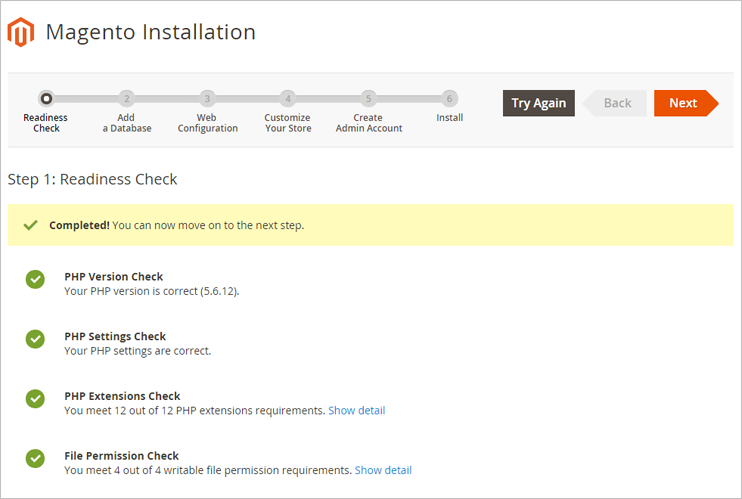
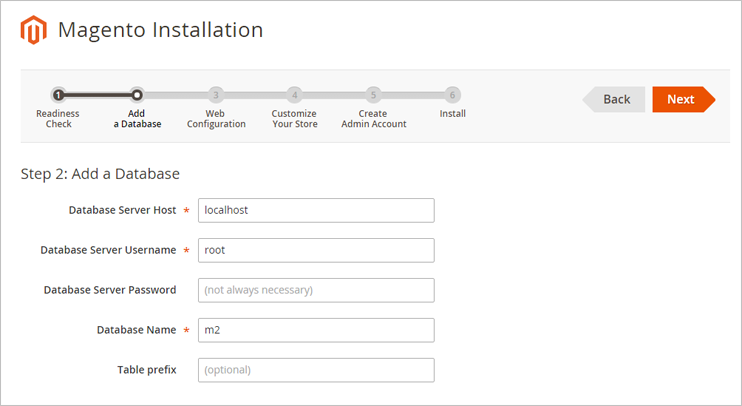
After the successful system requirements check, it will be needed to enter database access data on the next step:
Next, it will be needed to configure web settings: enter administration zone address, configure HTTPS connection, Apache rewrites and encryption key.

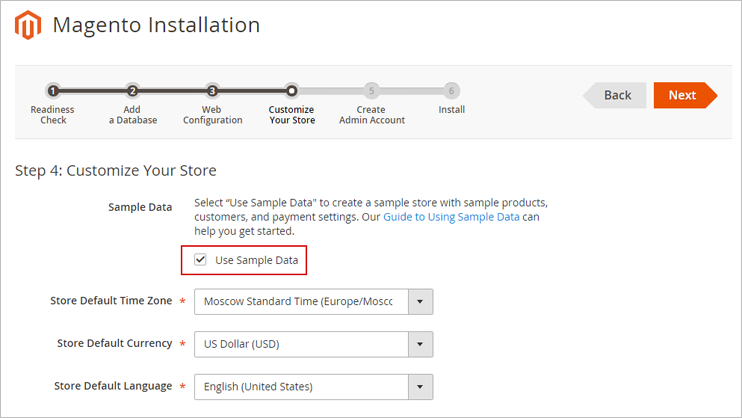
On the next step, it will be needed to configure time zone, currency and language.
Don't forget to select the "Use Sample Data" option on this step.
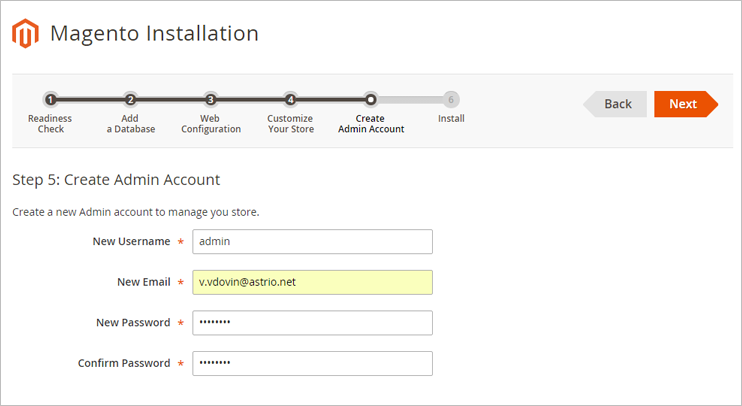
The next step is the Magento 2 administrator account data configuration:
When all is done, the installation process will be started:
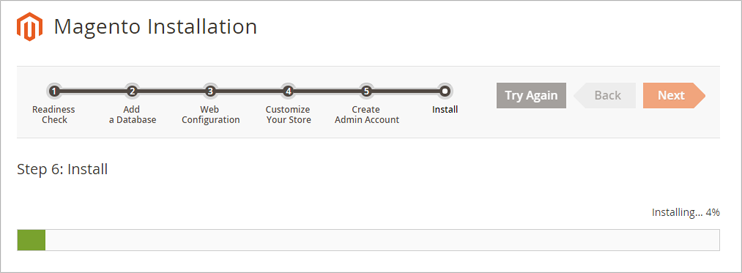
Success!!!
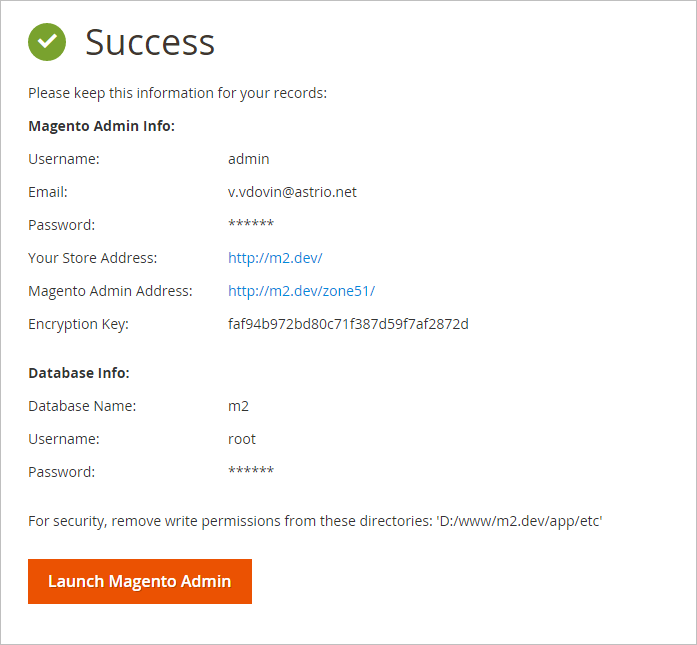
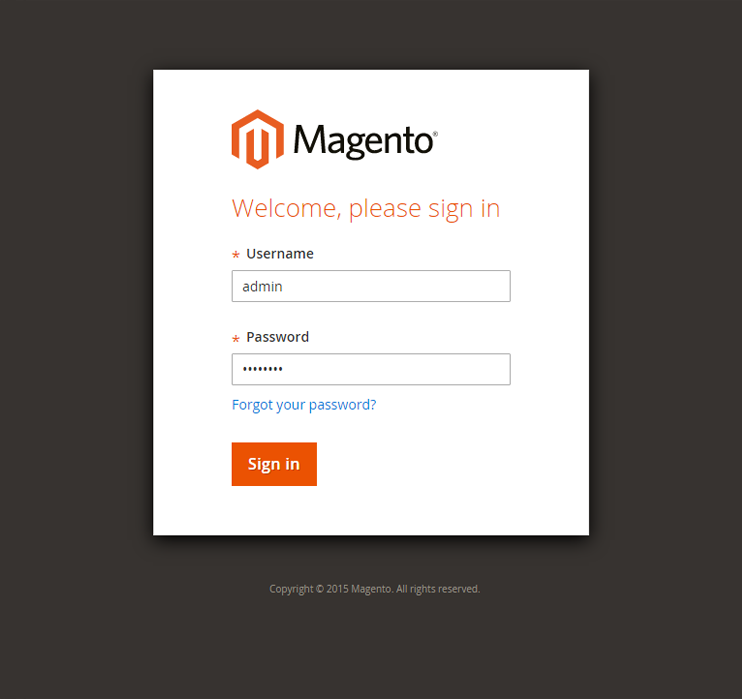
After the installation, open the Magento administration zone:
You will see a system message asking you to clear the Magento cache:

So clear the cache using Cache Management.
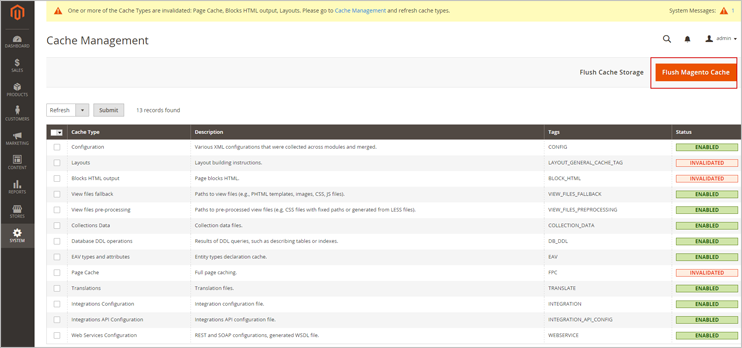
Check the website. The Magento 2 was successfully installed!